Making A Marker Caddy
Is this thing on? Wow. It’s been a minute.
I have a love affair with markers and pens. It’s a problem. in fact, there should likely be some service to help people like me with an addiction to writing implements. I dee a marker, I get curious and I want to try it out for myself. But, really, as you know, I just love drawing.
Forever in the pursuit of things that make my life simpler, at the risk of adding complexity, I decided to set out and design and make my own mini marker caddy. Why? Well of the 300 plus markers I own, I feel as though there are a few that I regularly use and just want handy on my desk. The rest can remain in cold storage as they have been. If you want to know more about how I store those markers, check out this video. There’s even some lively debate in the comments about the best way to store markers and keep them fresh and perky.
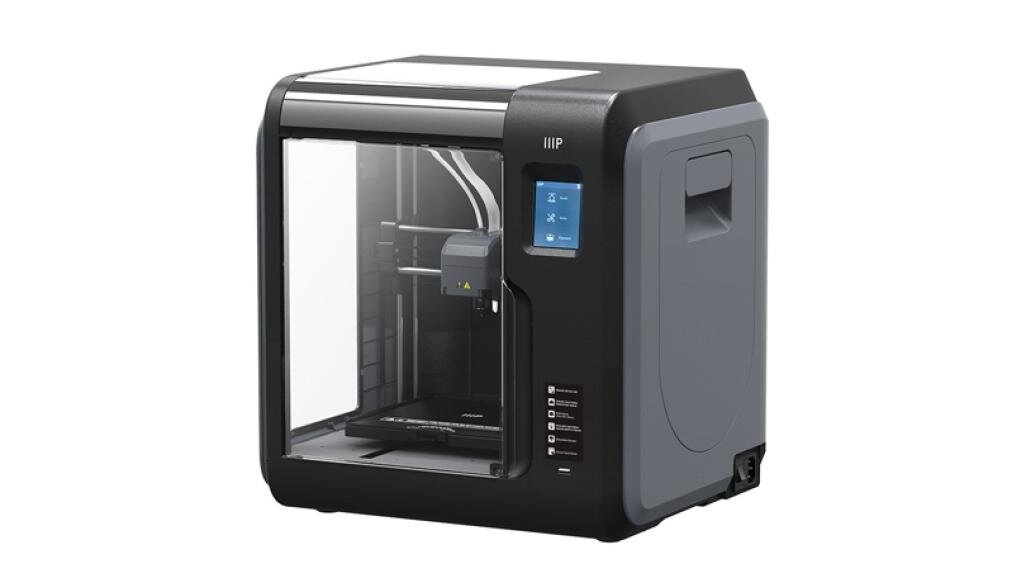
MONOPRICE VOXEL 3D PRINTER
I started by sketching some doodles and thumbnails. I set out for something pure and mostly unadorned besides a few affordances for fillets. I’d be using my new Monoprice voxel printer. I say new, but what I mean to say is that it is new to me. I just purchased a refurbished unit and have been really happy with it. Sure, for 250 USD it has MANY quirks, but being able to make prototypes in my kitchen (it’s actually below my microwave) has been amazing.
The resulting first attempt turned out to be a colossal failure. This is why prototyping and testing is important.
Sometimes you can fall in love with the look of an idea only to find that it was flawed in its very premise.
Physics are real and sometimes we designers rush forward without regard for reality. it’s okay to dream, but there comes a time when you have to wake up and think through things.

Seeing that my holder wouldn’t hold a marker without toppling over, I decided to start iterating and making a few tweaks. I added a small foot to the front and tweaked the angle of approach for the markers, hoping that this would reduce the moments of force and also add some much needed stability. For the print, I was using ABS plastic filament and I noticed a few things I can touch on here.
There was some noticeable warping of the prototype print. After some experimentation, I discovered that I was printing with the wrong setting — it’s actually a miracle that the print survived, because my printer was set to PLA, a resin that melts at a much lower temperature. In addition to that observation, because of the nature of the construction of the part, I found that where plastic walls met, there was noticeable shrinkage, much like one would find with thick injection molded parts. Another reminder of the reality of physics.
I also think the machine, being as small as it is, is more susceptible to vibrations and aberrations than a larger, more sturdy printer, and as such, there were some skips in the layering of the file.

Again, however, I can’t complain much for 250 USD. I remember purchasing a 3d printer a few years ago for about 1500 USD and the quality, reliability and results weren’t nearly as lovely as what this printer produces.
Back to the second test… The print was mostly successful, however, I still noticed it wasn’t stable enough for me to use consistently without being concerned that my markers would topple the thing over.
Back to the drawing board, and I made another tweak. This time, I added a longer extension foot to the base, and so as to prevent extra warping, added the side walls on the foot to form a tray on the front. I often have smaller items at my desk like pushpins for sketches as well as small SD cards for data storage on cameras and thought this small tray would be good to have as an added functional area.
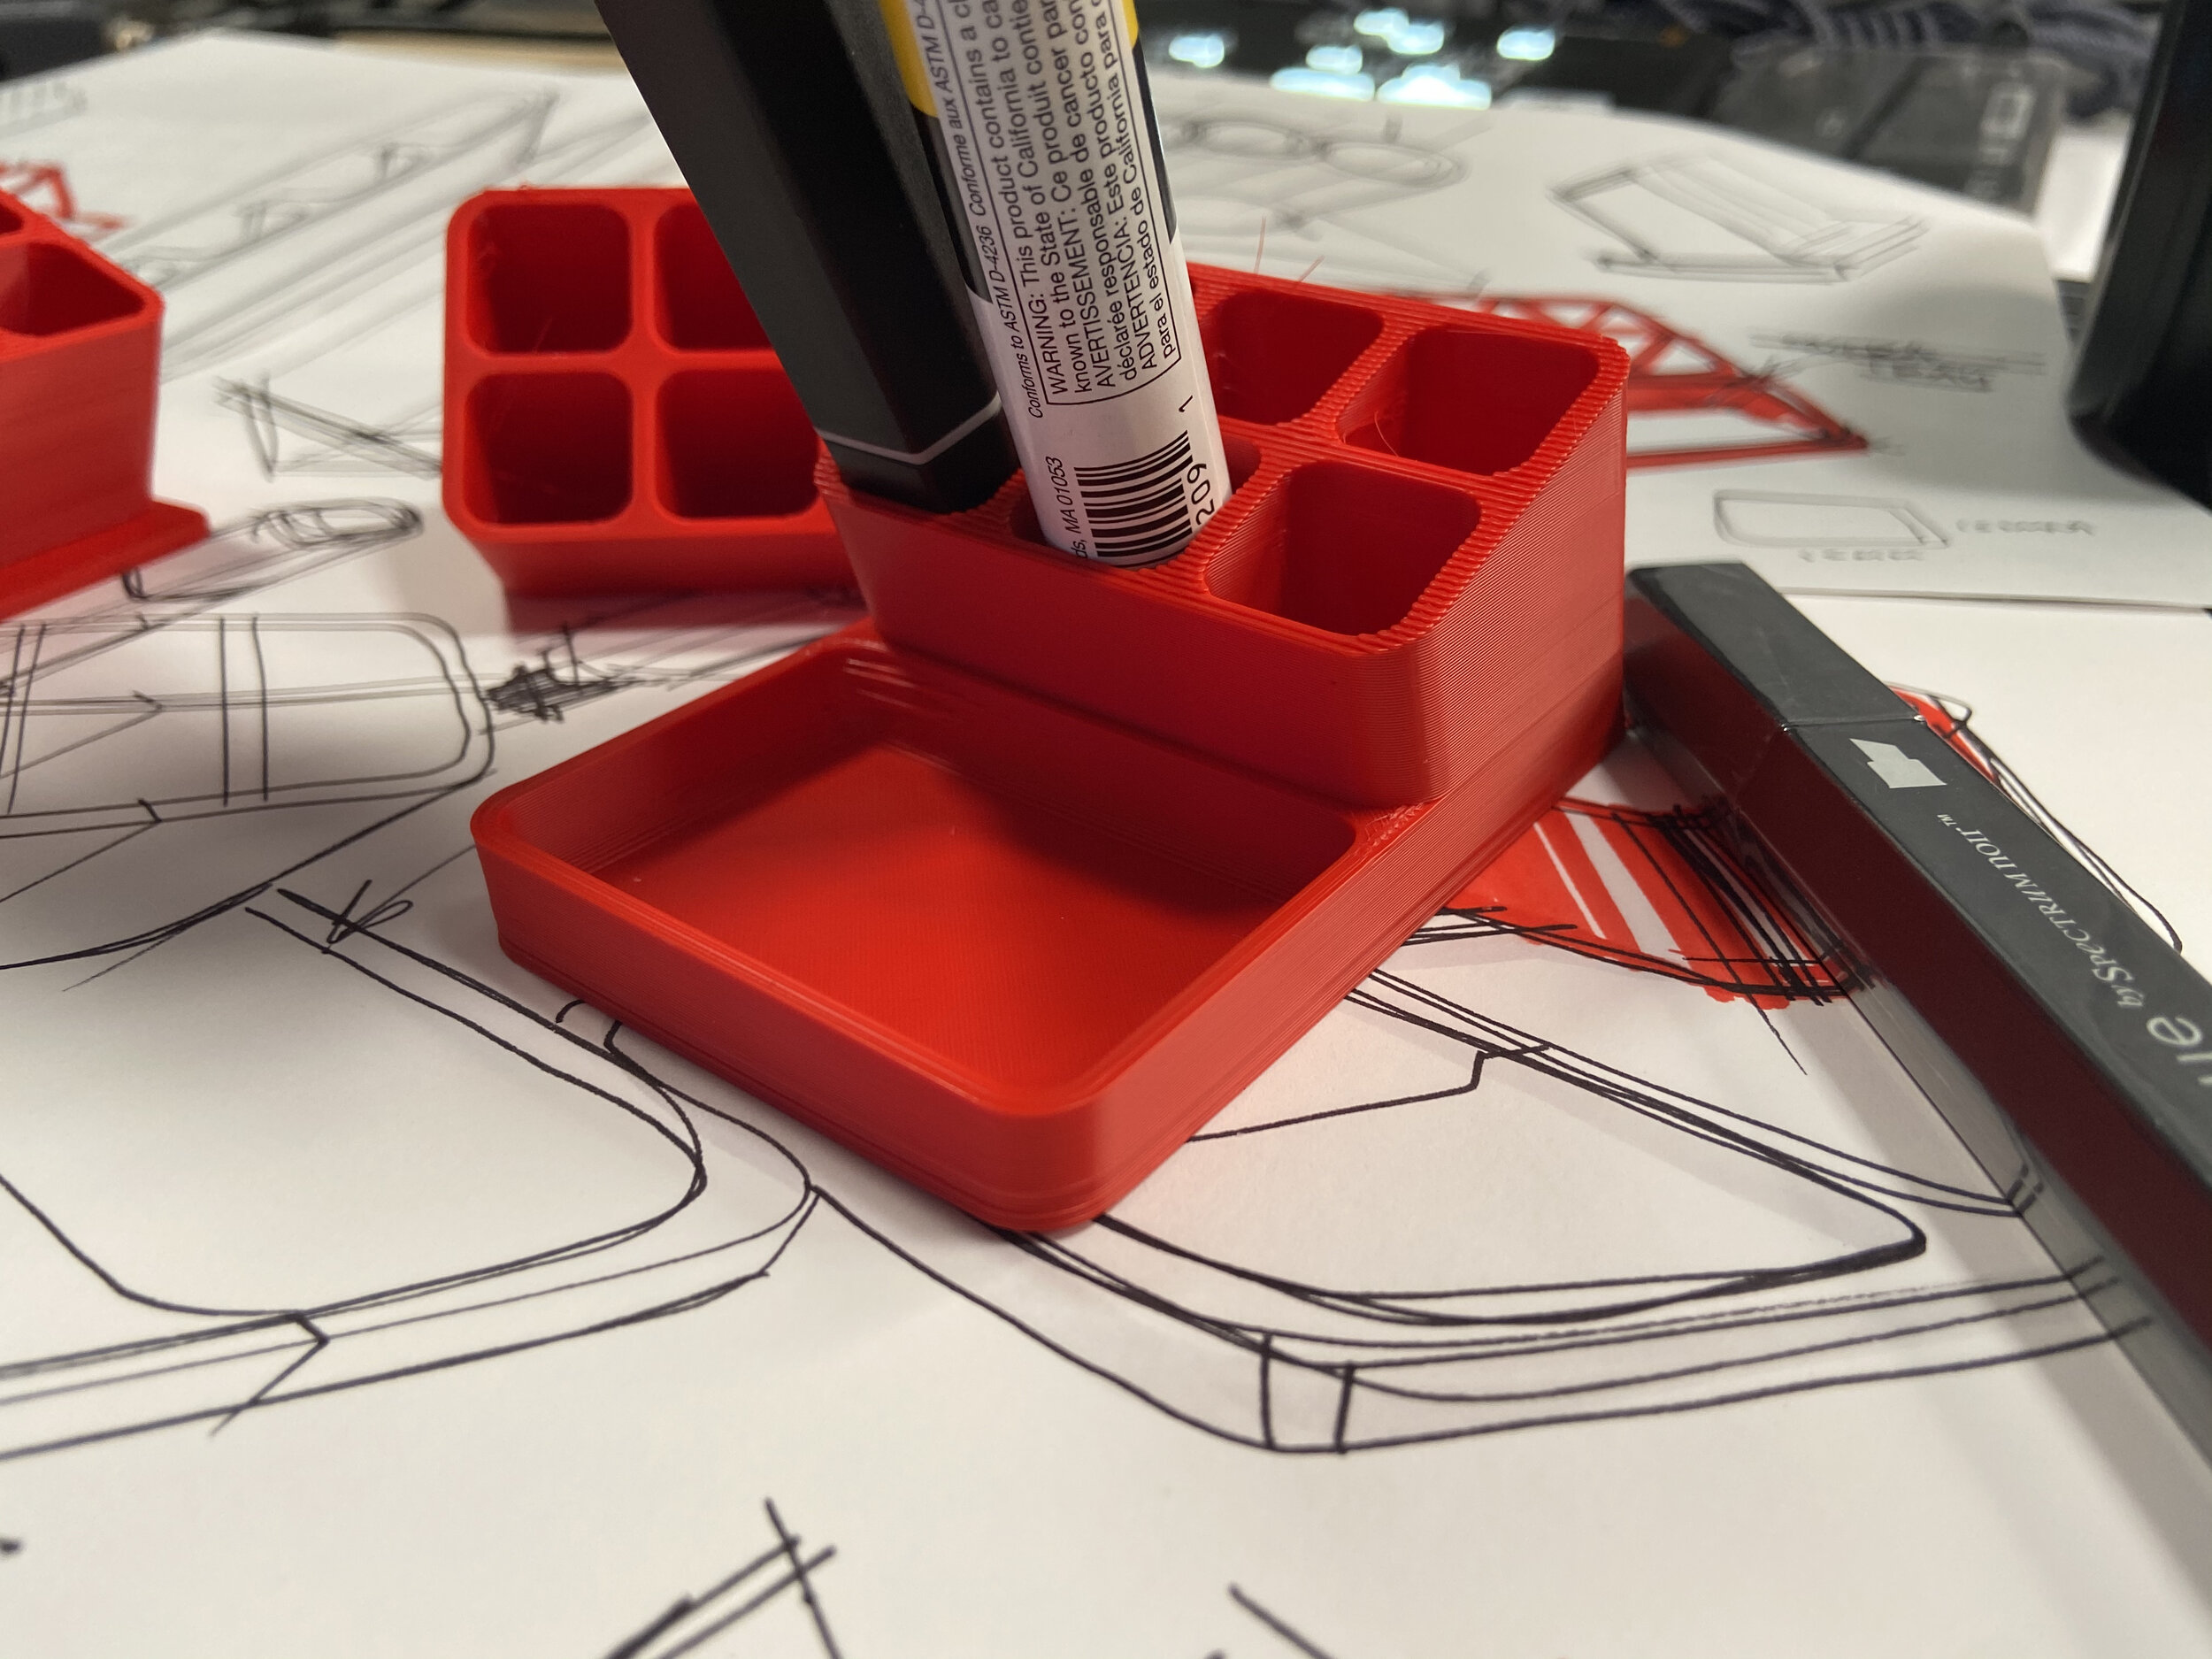
The print was a success — I ran a rough pass first which means the resolution of the print was much lower and took considerably less time than it would otherwise. That gave me the chance to quickly see the result, make a confirmation and print another.
Learnings:
Physics is here to stay! don’t forget to consider functional mechanical implications of your design
Work quickly - I didn’t spend much time sketching. This is how I typically work if I have an idea in my head. Refinement comes later in the process and certainly varies from project to project.
Have fun - when I’m having fun, I do my most precise and simple work. your attitude and outlook are just as important as putting pen to paper or clicks to CAD.
Project Assets:
If you’d like to print a a version of this yourself, i’ve provided links to a STEP file as well as each version of the caddy if you’d like to tinker yourself. Consider making a donation if you do, but more importantly, share your knowledge with others!
